Hatha Yoga for Mobility for Beginners: A Gentle, Pinterest-Friendly Guide
If you’ve been curious about improving your everyday ease of movement but the idea of athletic flows feels intimidating, this guide is for you. Hatha yoga for mobility for beginners is a calm, accessible approach that pairs breath-led movement with thoughtful alignment to help you build usable range without force.
You’ll find clear explanations of why Hatha suits mobility work, short visual-friendly practices, and a compact set of poses with beginner-friendly modifications and Pinterest-style cues. Use the bite-sized practices as single daily rituals, or combine them into a 20–30 minute session when you have more time.
What ‘Hatha Yoga’ Means — Foundations
Hatha is often presented as the steady backbone of many modern yoga traditions — a measured, breath-attuned way to move through asana and prepare the body and mind. It’s especially well suited to mobility work because it privileges alignment, clarity, and mindful pacing over speed.
Concept: breath, asana, and alignment
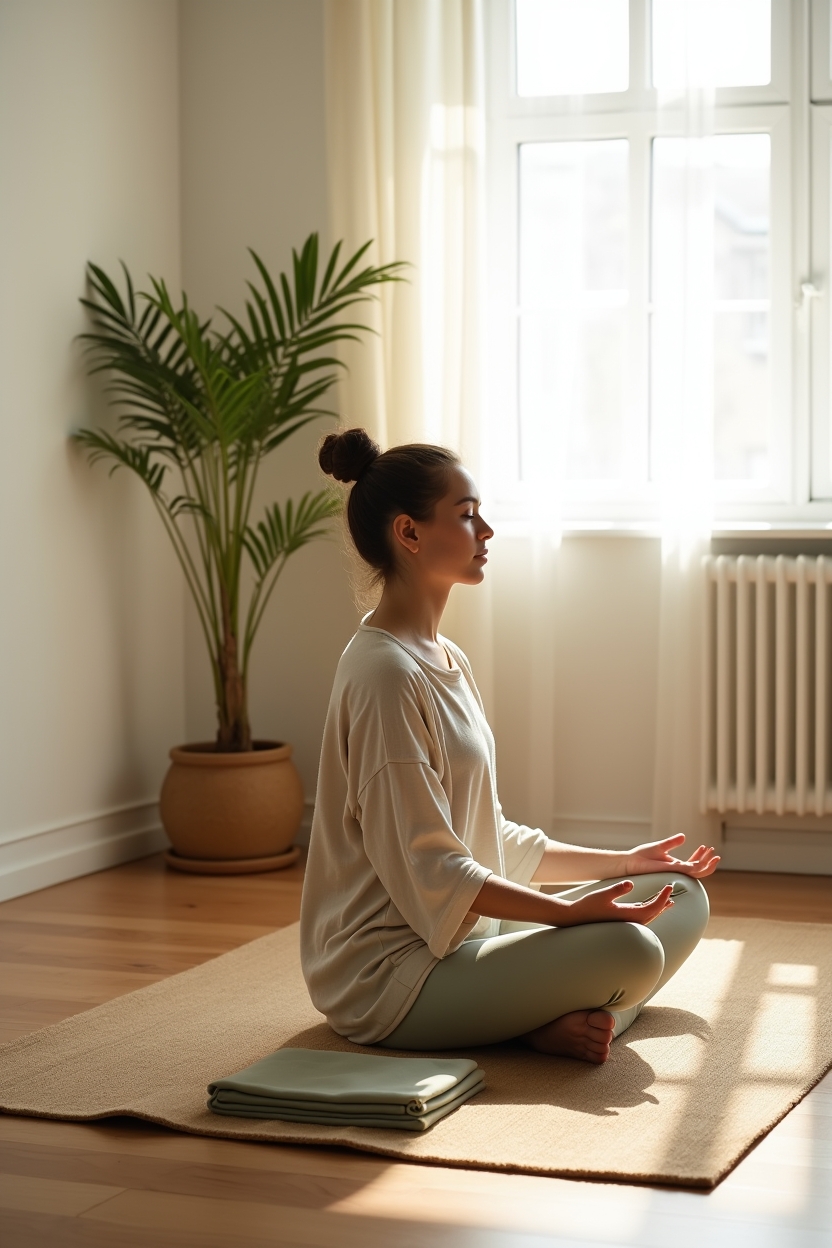
In Hatha practice you’ll meet **asana** — a simple Sanskrit word meaning posture or seat — presented as an invitation to explore balance between effort and ease. When you move with steady breath and attention to alignment, you give your nervous system consistent information about your joint positions and muscular habits.
That breath-led steadiness helps you notice subtle restrictions and choose small changes that expand range safely. Rather than forcing length, Hatha asks you to refine movement quality — which is exactly what mobility training needs: controlled, reproducible ranges rather than accidental overstretching.
Concept: how Hatha differs from flow or power practices
Hatha isn’t about high-energy sequences or rapid transitions — it’s about pauses, alignment checks, and accessible holds. Those slower transitions and held positions let you practice control at the edge of your comfort, teaching joints how to move through new ranges safely.
That makes Hatha ideal for beginners building mobility: you get more time to feel sensations, soften systemic guarding with breath, and integrate small gains without chasing extremes.
Mobility vs. Flexibility: Key Concepts for Beginners
Mobility and flexibility are related but different skills. Flexibility is about muscle length; mobility is about usable joint control through a range. Hatha naturally bridges both by combining gentle openness with strength and proprioceptive learning.
Concept: joints, neuromuscular control, and movement quality
Mobility emphasizes control — the ability to move a joint through its range with stability and coordination. When you practice Hatha with focused alignment, you’re training muscles, tendons, and the nervous system to cooperate in new ways.
This neuromuscular learning is what makes improvements durable: you don’t simply gain more length, you gain more reliable movement patterns that support everyday activities.
Concept: breath and nervous-system regulation for better movement
Breath is a tool for releasing muscular guarding and for improving movement quality. Diaphragmatic breathing calms the sympathetic nervous system, making it easier to soften into a new range without pain-driven tension.
When your breath is steady, you’ll notice joints feel safer and tissues respond more readily — a simple but powerful reason Hatha’s breath emphasis supports mobility work.
How Hatha Yoga for Mobility for Beginners Actually Looks
If you’re picturing a mobility-focused Hatha session, imagine a gentle rhythm: a warm-up sequence, a handful of focused holds to explore an edge, and short integrative movements to make the new range usable. A 20–30 minute practice often gives meaningful change without fatigue.
Pattern: slow transitions and mindful holds
Slow transitions let your nervous system learn joint paths rather than just stretching tissues. Holding a pose for several breaths while gently micro-adjusting alignment teaches control at the new end-range.
This isn’t about long passive holds that overstretch — it’s about mindful exploration: small movements in and out of the edge, repeated with attention and breath.
Pattern: breath-led pacing and simple cues
Use breath counts to pace exploration: inhale to prepare, exhale to gently move deeper, then breathe into the hold for 3–6 full diaphragmatic cycles. Simple cues — ‘soften the belly, lengthen the spine, widen the collarbones’ — help you stay present and aligned.
For beginners, choose one or two breath-and-movement cues per pose so you aren’t overwhelmed. That clarity is what makes a short practice feel nourishing rather than scattered.
- Inhale — prepare and find length.
- Exhale — move slowly toward the edge of range.
- Hold for 3–6 breaths, micro-adjusting alignment.
- Integrate with a slow, controlled transition to the next posture.
Core Hatha Poses for Mobility — A Pinterest-Friendly Set
Below are approachable Hatha poses that reliably improve hip, thoracic, and shoulder mobility. Each entry explains why the pose helps, how to do it simply, and offers modifications and a visual cue idea you could use for a Pinterest-friendly image.
Pose: Cat–Cow (spinal mobility)
Why it helps: Cat–Cow mobilizes the thoracic and lumbar spine through a controlled, breath-synced flexion and extension — great for easing stiffness and training spinal segmentation.
How to do it: Begin on hands and knees. Inhale to lift the chest and tailbone (Cow), exhale to round the spine (Cat). Move slowly, articulating each vertebrae over several breaths. For beginners, keep the range gentle and cue movement from the lungs to the lower ribs.
- Modification: place a folded blanket under knees for comfort.
- Regression: smaller range of motion, fewer vertebral arcs.
- Progression: add a 3–5 second hold in end positions to build control.
- Pinterest cue: side-on photo showing full extension and full flexion in split-frame.
Pose: Low Lunge with Gentle Rotation (hip & thoracic)
Why it helps: The low lunge lengthens hip flexors while the rotation shares movement demand with the thoracic spine — a useful combo for sitting-bound bodies.
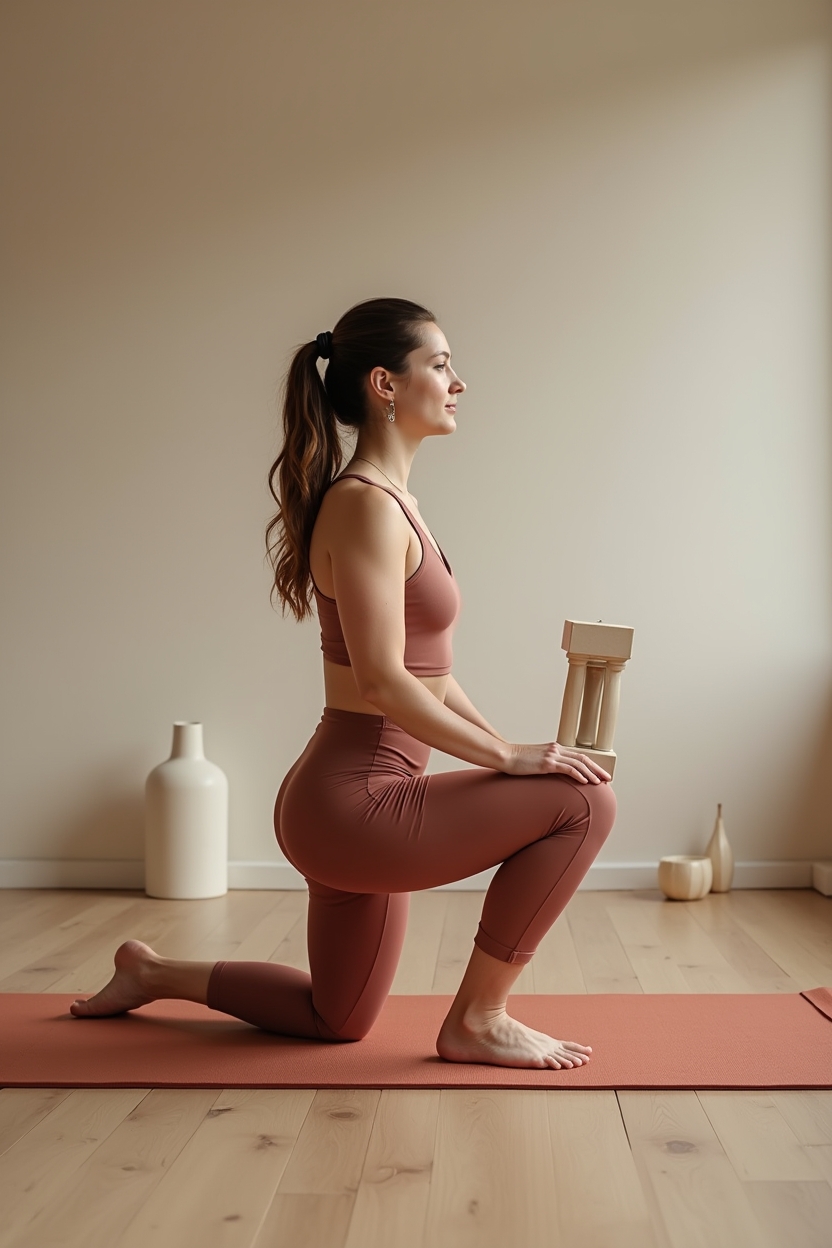
How to do it: From a kneeling lunge, root the front foot, inhale to lengthen, exhale to twist gently toward the front leg. Keep the pelvis squared and the back knee supported. Move with breath and stop where you feel a controlled, pleasant stretch.
- Modification: keep hands on blocks beside the front foot.
- Regression: perform the rotation seated on a chair.
- Progression: lift the back knee off the floor for added hip control.
- Pinterest cue: three-image step sequence showing setup, rotation, and breath count overlay.
Pose: Reclined Figure Four / Supported Pigeon (hip external rotation)
Why it helps: This supine variation safely targets external rotation and the gluteal area without loading the anterior hip — ideal when deep forward-folding pigeon is painful.
How to do it: Lying on your back, cross the ankle over the opposite thigh and draw the uncrossed leg toward your chest. Keep the hips level and support with a strap or hands. Breathe into any areas of tension and ease only to the point of gentle resistance.
- Modification: loop a strap around the uncrossed thigh to assist the draw-in.
- Regression: keep the uncrossed foot on the floor and lean the chest toward the thigh.
- Progression: lift the head and chest slightly to engage core while holding.
- Pinterest cue: overhead photo of the figure-four shape with a soft blanket under the hips.
Pose: Thread-the-Needle (shoulder & upper back)
Why it helps: Thread-the-Needle increases scapular mobility and upper-back rotation — helpful for desk-bound shoulders and rounded posture.
How to do it: From hands and knees, slide one arm underneath the opposite arm, lowering the shoulder and temple toward the mat. Keep the hips high enough to feel a rotation through the thoracic spine. Breathe into the area, then slowly thread back to center.
- Modification: rest the head on a block or folded blanket.
- Regression: limit the reach until rotation feels comfortable.
- Progression: reach the top arm overhead to increase rotation.
- Pinterest cue: close-up angle focusing on the shoulder threading under with a breath-tip overlay.
Pose: Standing Forward Fold with Microbend (hamstrings + lower-back mobility)
Why it helps: Using a small knee bend and pelvic tilts protects hamstrings and trains usable hinge patterns rather than overstretching passive tissues.
How to do it: Stand, hinge from the hips with a microbend in the knees, and use small pelvic tilts on the exhale to explore forward flexion. Keep the back long and soften the neck. Repeat gently for several breath cycles to build coordinated length.
- Modification: place hands on blocks or a chair seat.
- Regression: perform the hinge seated on the edge of a chair.
- Progression: slowly straighten knees as hip hinge control improves.
- Pinterest cue: side profile showing microbend and a short caption about hinge mechanics.
Pose: Bridge with Shoulder Opener (hip extension + shoulder mobility)
Why it helps: Bridge strengthens the posterior chain while opening the front body; adding a shoulder opener balances thoracic extension with scapular mobility.
How to do it: Lying on your back with knees bent, press into the feet to lift the hips. Clasp hands behind the pelvis or thread a strap overhead to encourage shoulder opening. Keep the neck neutral and lift only as far as you maintain even breath.
- Modification: use a block under the sacrum for a supported bridge.
- Regression: keep hands by the sides and focus on hip lift only.
- Progression: walk the feet closer to the hips for a stronger lift.
- Pinterest cue: three-quarter shot highlighting sacrum support or strap placement.
Sequencing, Modifications, and Props — How to Practice Safely
Sequencing wisely and using props are core skills for safe progress. Below you’ll find a short, practical sequence and clear guidance on progressions, regressions, and props. One of the sections explicitly addresses how to practice hatha yoga for mobility for beginners so you can apply these ideas right away.
Step: short sequence example — 20-minute mobility Hatha
Why: A compact 20-minute practice gives consistent input to the nervous system and encourages steady progress without overtaxing tissues. Regular repetition of small, well-cued movements creates the learning your joints need.
How: Use the sequence below as a template. Move with breath and stop before sharp sensations. The numbered structure simplifies timing so you can follow it like a mini-class.
- 2 minutes — Gentle breathing and wrist/ankle circles to arrive.
- 3 minutes — Cat–Cow variations, slow thoracic articulations (6–8 breaths).
- 4 minutes — Low lunges with rotation, alternating sides (4 breaths each side).
- 4 minutes — Reclined Figure Four on each side with strap support (6 breaths each).
- 3 minutes — Thread-the-Needle each side (6 breaths each).
- 3 minutes — Bridge holds or supported bridge with shoulder opener (3 sets of 5 breaths).
- 1 minute — Standing forward fold with microbend and gentle pelvic tilts to close.
How to practice hatha yoga for mobility for beginners — progressions and regressions
Why: Progressions and regressions let you keep practice within a safe, effective range while still challenging the system enough to adapt. They help you celebrate measurable, small wins instead of chasing dramatic flexibility.
How: For each core pose, choose one regression (less range, added support) and one progression (slight increase in control demand). For example, regress Cat–Cow by shortening the range or adding a blanket under knees; progress by pausing for 3–5 seconds in end positions. Track the smallest positive change — one extra inch of reach or one less degree of pain — as your progress marker.
- Cat–Cow: Regression — smaller arcs; Progression — 5-second holds.
- Low Lunge: Regression — hands on blocks; Progression — back knee lifted for active hip control.
- Reclined Figure Four: Regression — keep foot on floor; Progression — draw knee closer with increased core support.
- Thread-the-Needle: Regression — limit rotation; Progression — add an overhead reach with the top arm.
Tip: props and tech — straps, blocks, chair, and wall
Why: Props are scaffolds for alignment and safety. They let you practice the intended joint angles without forcing the body into a posture it’s not ready for.
How: Use a strap to bridge gaps in reach, blocks to raise the floor and protect wrists or hamstrings, a chair when balance or load is an issue, and the wall to check hip or shoulder alignment. Treat props as companions — they don’t limit you, they support your learning.
- Strap: assist in reclined figure-four or shoulder holds.
- Blocks: elevate hands in standing folds or support the bridge.
- Chair: perform lunges or forward folds seated for safer regressions.
- Wall: use for supported shoulder openers and to align the pelvis in lunge variations.
Safety, Common Pitfalls, and Mindset for Steady Progress
Progress in mobility is gradual and often non-linear. Pay attention to signals from the body, prioritize consistency over intensity, and cultivate a patient, curious mindset to stay on a lasting path.
Tip: signs you’re overstretching vs. building mobility
Sharp pain, sudden joint noises followed by lingering soreness, or sensations that feel destabilizing are signs you may be overstretching. Building mobility usually feels like controlled challenge with a steady return to ease after practice.
If you notice red-flag sensations, stop the movement, reduce range, and revisit alignment. When in doubt, choose support and regression — small, consistent practice beats occasional aggressive sessions.
Tip: realistic frequency and measurable progress markers
Aim for short daily or near-daily practice rather than infrequent long sessions. Ten to twenty minutes most days creates much more reliable change than a single hour once a week.
Measure progress with simple markers: can you reach a little further, hold the position for an extra breath, or perform a movement with less tension? Small, objective markers keep motivation steady without aesthetic comparison.
Tip: mindset — curiosity, patience, and body neutrality
Shift the goal from ‘perfect-looking poses’ to usable movement and ease in daily life. Curiosity replaces judgment — notice what changes rather than criticizing what you can’t do yet.
Body neutrality — appreciating function over appearance — supports long-term practice. Celebrate small discoveries and treat setbacks as data, not failure.

Practice Resources, Visuals, and Next Steps
When you’re ready to go further, choose short classes and photo-friendly reference materials that prioritize clear cueing and alignment. Below are practical tips for selecting resources and creating shareable visuals that reinforce learning.
Resource: short classes and sequences to look for
Look for teachers who emphasize clear alignment cues, breath-led pacing, and mobility-focused progressions. Short classes (15–30 minutes) with repeated themes — for example, hip-focused or thoracic-focused sessions — let you practice the same patterns until they become familiar.
Avoid classes that push maximal end-range holds without cues for regression. As you build experience, combine short classes into a 3–4 day rotation focusing on different joints.
Resource: creating Pinterest-friendly visuals from your practice
Simple, consistent visuals help you remember cues. Photograph poses from a clean side or three-quarter angle, include one clear cue phrase as text, and use a consistent color palette for your images — calm, soft backgrounds and natural light work best.
If you share photos, add a caption describing the modification you used and the breath count. These small details make the image useful as a personal cue and friendly to others seeking gentle guidance.
Download the 20-Minute Hatha Mobility Printable
A one-page, beautifully designed printable version of the 20-minute Hatha mobility sequence above — with visual cues, timing, and space to note personal regressions and progressions. Use it as a daily ritual or a quick reference when you need a calm practice.
Get the Printable Sequence
Final Thoughts
Mobility is a gradual, discoverable skill — not a race. Hatha yoga for mobility for beginners is about learning reproducible movement, honoring alignment, and returning to breath when things feel tight. Be patient, celebrate small wins, and let steady practice be your compass.
If you’re curious, try the printable 20-minute sequence and notice one small change after a week. Gentle consistency will carry you farther than intensity ever could.