How to Use Yoga for Hip Flexibility: A Progressive, Safe Guide
Struggling with tight, stubborn hips can feel like a constant limit—on movement, on sleep, on ease in your day-to-day. Yoga for hip flexibility is a practical, sustainable path to more comfortable hips when you approach it slowly, mindfully, and with attention to breath and alignment. This guide walks you step by step: assess, establish foundations, warm up, deepen, build strength, and maintain progress safely.
Expect gradual change rather than overnight miracles—noticeable improvements often appear in weeks with consistent short sessions (10–25 minutes most days) and two longer practices per week. Pause and modify if you have an acute injury, recent surgery, or pregnancy-related concerns, and consult a clinician when you sense sharp pain, numbness, or instability.
Step 1 — Assess: Where are your hips now?
Begin here. A calm, honest inventory helps you practice with awareness rather than forcing ranges you don’t have yet. Use these checks to journal notes about limitations, asymmetries, and sensations before you design a plan.
Simple mobility checks (squat, lunge, and crossover reach)
Why: Simple, practical tests show how your hips behave under common movement patterns—squatting to load the hips and ankles, lunging to test hip flexion and stability, and a crossover reach to sense external rotation and posterior glide. These quick checks reveal whether stiffness is global or pattern-specific and whether one side differs from the other.
How: Perform each movement slowly and without pain. For the squat, stand with feet hip-width, lower as far as is comfortable while keeping heels down and spine neutral—note depth and where stiffness appears. For the lunge, step one foot forward and sink the back knee toward the floor; observe front hip flexion and whether the pelvis tips. For the crossover reach, stand tall, cross one ankle over the opposite knee and hinge slightly forward; this tests external rotation and glute length. Record range (easy/moderate/limited) and any sharp sensations.
- Bodyweight squat: note depth and ankle/hip compensation.
- Forward lunge: observe pelvis tilt and front hip comfort.
- Crossover reach (single-leg external rotation test): check glute and outer hip.
Pain vs. tension: red flags and when to stop
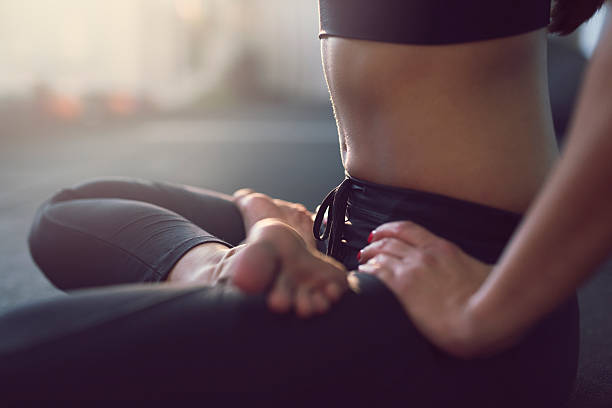
Why: Differentiating muscle tension from joint or nerve pain keeps you safe. Tension feels like a deep stretch or fullness that eases with softening and breath; red-flag pain is sharp, electric, causes numbness, or produces instability. Listening closely protects you from worsening an issue.
How: Use these simple rules: stop immediately for sharp, shooting, or numb sensations. If a movement produces pain that persists after rest or increases over days, pause the progression and consult a physical therapist or physician. Modify by reducing range, using props, or replacing a pose with a gentler alternative until symptoms settle.
Step 2 — Foundations: Breath, pelvic alignment, and nervous-system soothing
Before you ask your hips to open, set a steady internal environment—breath and pelvic alignment reduce guarding and distribute load more evenly across joints and soft tissue.
Why diaphragmatic breathing matters for hip release
Why: Diaphragmatic breathing calms the nervous system and down-regulates protective muscle guarding around the hips and low back. When the breath is shallow, the body often holds tension—tight hip flexors, bracing through the glutes—that limits mobility.
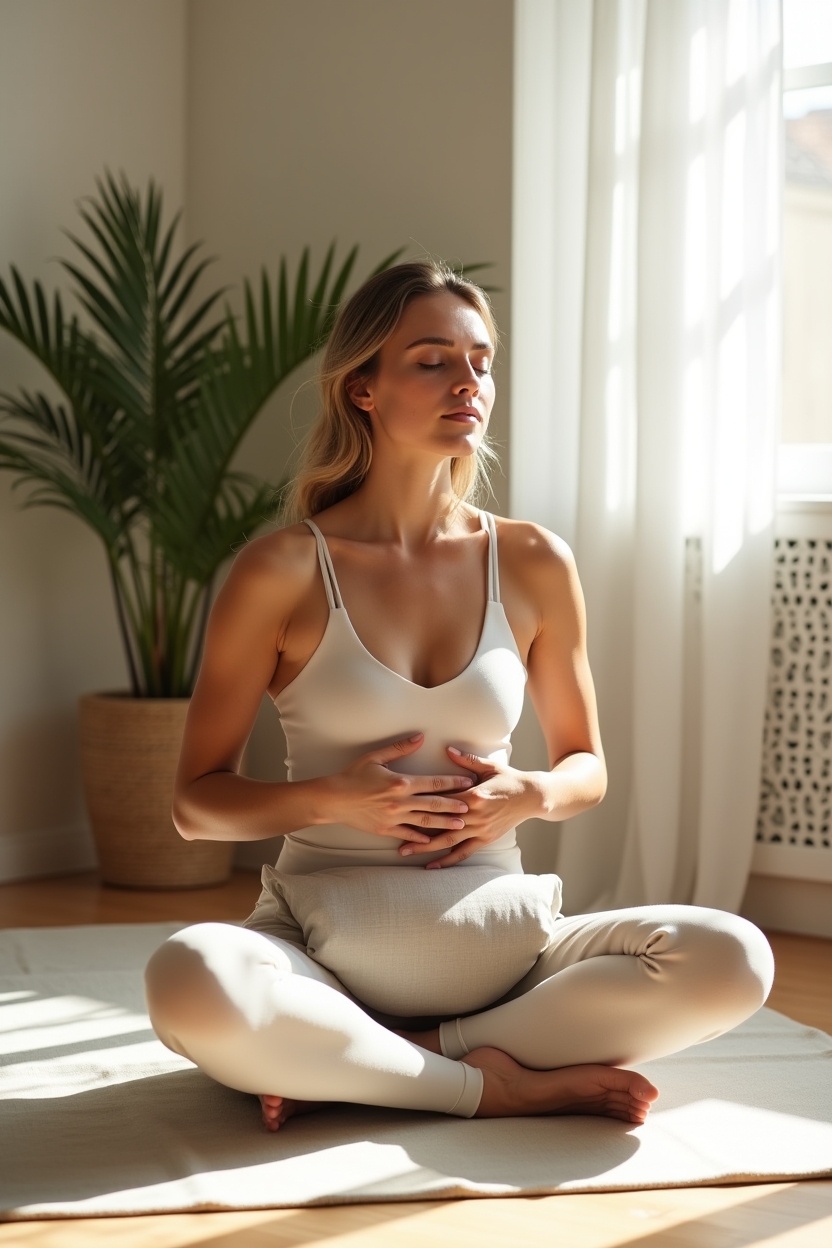
How: Lie on your back or sit tall. Place one hand on the belly and one on the ribs. Breathe slowly so the belly rises on the inhale and falls on the exhale—aim for three to five minutes of steady 4–6 second breaths. Notice softening in the pelvis and outer hips as you lengthen each exhale.
Pelvic neutral cues and gentle activation
Why: Finding a neutral pelvis organizes the spine and hip socket, reducing compensatory patterns and creating safer lines of movement. Without this, stretches may tug on the low back instead of the intended hip tissues.
How: Lie supine with knees bent. Imagine a small tilt forward and then back—find the middle where your low back feels neither flattened nor overly arched. Cue a soft engagement of the glutes and gentle draw of the lower belly toward the spine—just enough to sense support, not to lock. Practice 6–8 repetitions of small posterior-anterior tilts, holding neutral for 5–10 seconds each time.
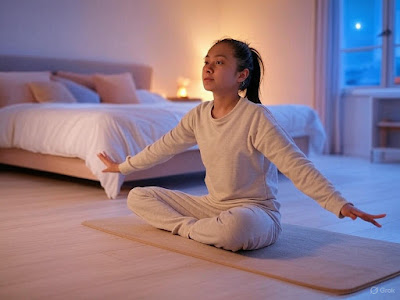
Short nervous-system reset (4–6 breaths) before deeper poses
Why: A brief ritual before challenging poses reduces reactive tension and improves the quality of your practice. It signals safety to your system—when the brain senses safety, tissues soften and range improves.
How: Sit or lie in a comfortable position. Inhale for a count of four, pause briefly, exhale for a count of six—repeat four to six times. Add a gentle progressive relaxation: on each exhale, imagine the outer hips and glutes releasing a bit more. Use this reset before moving into longer holds or deeper openings.
Step 3 — Warm-up sequence for yoga for hip flexibility
This warm-up for yoga for hip flexibility uses dynamic movement to lubricate the joint, wake stabilizers, and prepare tissues for deeper work. Move with breath and attention—warmth over force.
Pose: Cat–Cow with hip circles
Why: Cat–Cow mobilizes the spine and indirectly mobilizes the hip through pelvic movement. Adding gentle hip circles increases joint fluid movement and warms the rotator cuff of the hip—those small muscles that guide the femur in the socket.
How: Begin on hands and knees with wrists under shoulders and knees under hips. Inhale to arch (cow), allowing the pelvis to tilt and the chest to open; exhale to round (cat), tucking the tail and drawing the navel in. After a few cycles, keep the spine neutral and make small circles with the pelvis—five in each direction. Move with the breath, keep the low back supported, and avoid forcing big ranges.
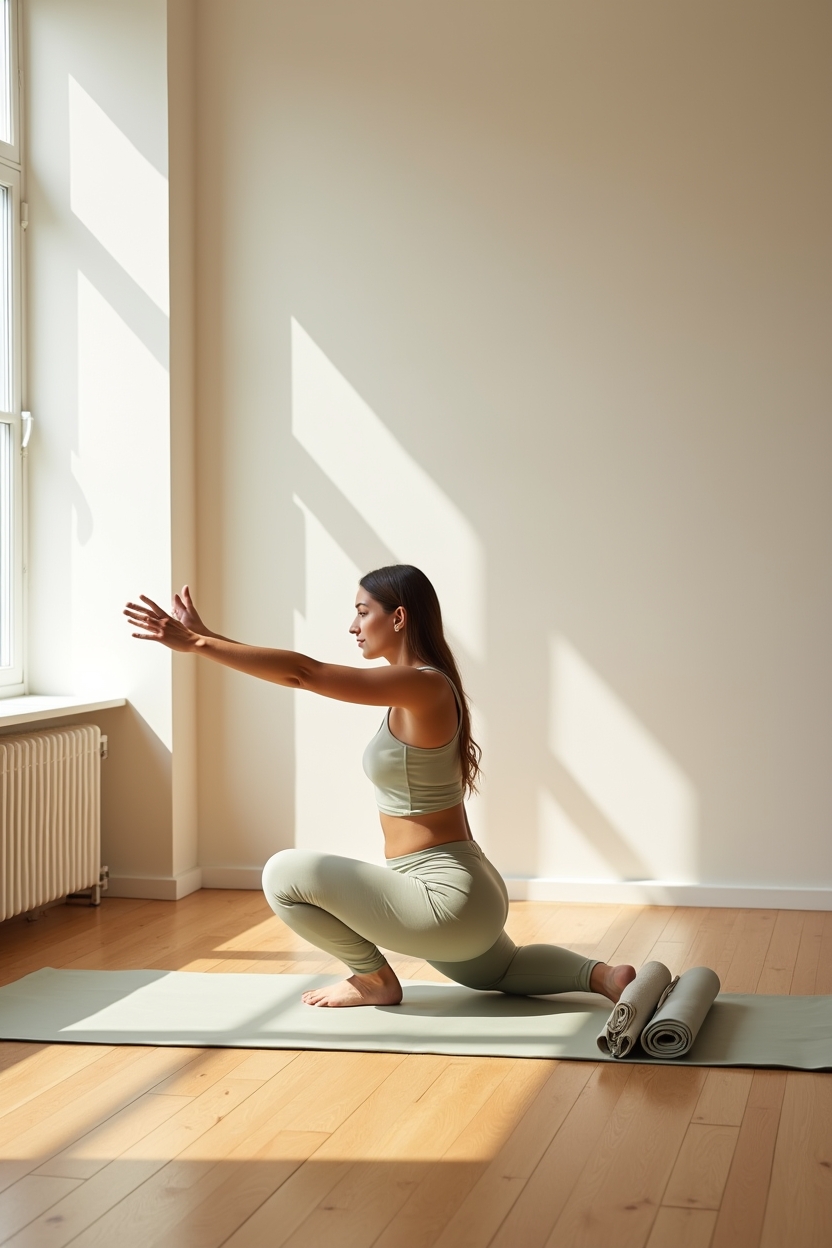
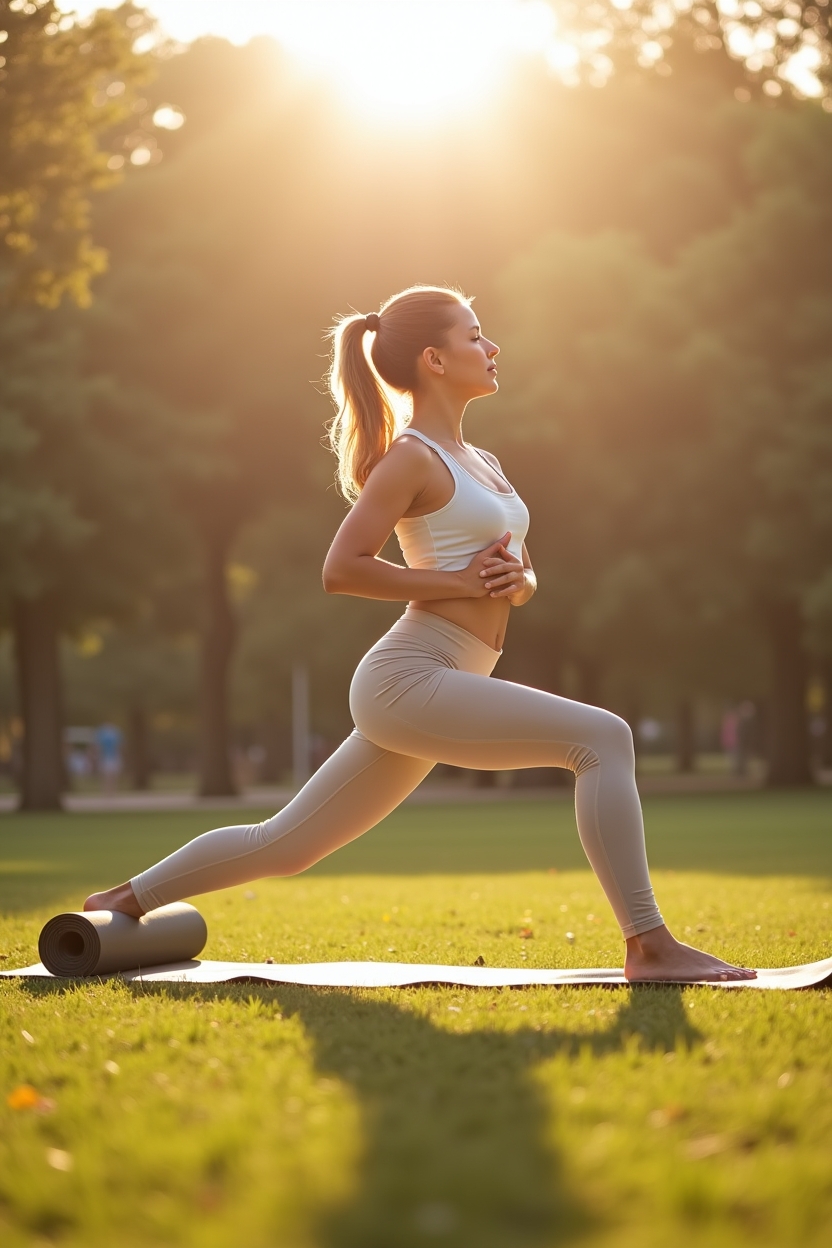
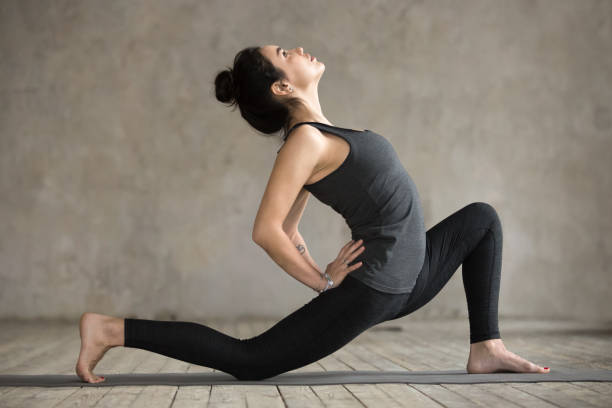
Pose: Low lunge with active hip flexor lengthening
Why: A controlled low lunge warms the anterior hip and promotes safe lengthening of the hip flexors—common offenders in anterior pelvic tilt and restricted hip extension.
How: From a kneeling lunge, drop the back knee and keep a square pelvis. Tuck the tailbone slightly and engage the back glute to protect the low back. Gently shift your weight forward until you feel a comfortable stretch in the front of the hip. Hold 20–30 seconds, breathing into the area. Use blocks under the hands or a cushion under the back knee for support. Repeat 2–3 times per side.
Micro-sequence: Figure-four swings and knee hugs
Why: Dynamic figure-four swings and knee hugs alternate external rotation mobility with hip flexion and core re-patterning. This sequence warms the glutes and external rotators while letting you test range in motion under control.
How: Lie on your back. Hug one knee into your chest to warm the hip flexors, then release and cross the ankle over the opposite thigh into a figure-four. Keep the movement fluid—swinging through 8–12 controlled reps each side. Progress by using a strap around the shin for a deeper but supported stretch. Pause if you feel pain in the knee and opt for a gentler knee hug instead.
Step 4 — Deepening: Targeted hip-opening poses and progressions
This section moves into longer-held, targeted hip-openers. Keep returning to breath and pelvic neutrality—progression matters more than intensity. The phrase yoga for hip flexibility continues here as you deepen safely.
Pose: Reclined Pigeon / Supine Figure Four (beginner-friendly)
Why: Reclined Pigeon, or Supine Figure Four, is a gentle entry into outer hip and glute release without loading the knee or compressing the hip. It’s excellent for beginners and for days when a seated or weight-bearing pose feels too intense.
How: Lie on your back and cross one ankle over the opposite thigh, keeping the foot flexed to protect the knee. If needed, loop a strap behind the uncrossed thigh and draw the knee toward your chest—stop where you feel a steady stretch. Hold 30–90 seconds while breathing into the area. Use a strap or a folded blanket under the hip for support and reduce intensity. Repeat 2–3 times per side.
Pose: Half Pigeon to Full Pigeon progression
Why: Moving from a supported Half Pigeon into Full Pigeon gradually opens deeper external rotation and extension in the hip—but the knee and low back must be protected. Progression helps you find sensation in the hip rather than strain in adjacent joints.
How: Start with a reclining figure-four or a seated cross-legged stretch to warm the area. Move into Half Pigeon with a forward-leaning support—place a block or folded blanket under the front hip if you cannot sit square. Stay tall and respect the knee: if you feel worrisome twinges, back out. When you have sufficient external rotation and pelvic stability, transition to Full Pigeon by sliding the front shin more parallel to the mat and extending the back leg. Hold 30–90 seconds, breathing, and exit slowly. Use a folded blanket under the front hip or a bolster in front of you for safety.
Pose: Frog and Baddha Konasana (butterfly) mobility
Why: Wide-open poses like Frog and **Baddha Konasana** (butterfly) target the inner thighs and groin—areas that often feel resistant after years of sitting. Approaching them with props and small progressions prevents overstretching and builds usable openness.
How: For Frog, start on all fours and slowly widen the knees, keeping inner feet in line and ankles relaxed—use a cushion under the chest for a supportive forward fold. For **Baddha Konasana** (butterfly), sit on a folded blanket to tilt the pelvis forward, bring soles together, and let knees soften toward the floor. Use blocks under the knees or sit with your back against the wall for support. Work in short holds (30–60 seconds) and return often rather than forcing long passive holds on the first day.
Step 5 — Build strength and stability alongside flexibility
Flexibility without strength can feel pretty but fragile—your gains are most useful when paired with control. Short strength circuits preserve alignment and prevent recurring tightness.
Glute activation circuit (clamshells, bridges, band walks)
Why: Strong, responsive glutes stabilize the hip and pelvis—reducing load on passive tissues and supporting functional range of motion. Activation also retrains motor patterns so newly gained length remains available in movement.
How: Perform each exercise with quality, not quantity. Clamshells: lie on your side with knees bent, feet together; lift the top knee while keeping feet connected—10–15 slow reps per side for 2–3 sets. Bridges: lie supine, press through the heels, lift the hips while squeezing the glutes—8–12 reps for 2–3 sets. Band walks: loop a band above knees or around ankles and take controlled side steps—10–20 steps each direction for 2–3 sets. Rest as needed and increase resistance gradually.
- Clamshells — 2–3 sets of 10–15 reps per side
- Glute bridges — 2–3 sets of 8–12 reps
- Lateral band walks — 2–3 sets of 10–20 steps per direction
Single-leg balance and functional mobility drills
Why: Balancing integrates strength, proprioception, and hip control—turning passive range into usable movement. Single-leg work mimics real-life demands: stepping, climbing stairs, and changing direction.
How: Begin with simple single-leg stands near a chair or wall for support—aim for 20–30 seconds per leg, progressing by reducing support or closing the eyes. Add dynamic challenges: slow knee drives with control, single-leg deadlifts to feel posterior chain engagement, or step-ups at a low height focusing on using the glute, not the momentum. Start with 2–3 sets and build from there.
Step 6 — Maintain: Practice structure, frequency, and common pitfalls
Consistency beats intensity. A clear, gentle schedule and an awareness of common missteps will keep your practice sustainable and effective.
Sample 4-week progression for yoga for hip flexibility
Why: A short, structured plan prevents random stretching and ensures you balance mobility, strength, and recovery. Small, steady increases in time under tension and complexity lead to lasting change.
How: Week 1: Daily 10–12 minute sessions focused on assessment, diaphragmatic breathing, and basic warm-ups (Cat–Cow, figure-four swings, reclined pigeon), plus two short strength sessions. Week 2: Increase holds to 30–60 seconds in reclined pigeon and low lunge; add clamshells and bridges after mobility. Week 3: Introduce Half Pigeon progressions and frog/butterfly with props; increase strength intensity slightly. Week 4: Combine a longer 25–35 minute practice twice weekly (warm-up → deeper holds → strength circuit) with brief daily resets. Track notes on range, pain, and what felt easier or harder each week.
- Week 1: Daily 10–12 minutes — assessment + breath + warm-up.
- Week 2: Add longer holds (30–60s) and maintain strength 2x/week.
- Week 3: Introduce Half Pigeon and wider supported openings.
- Week 4: Two longer practices (25–35 min) + daily short resets.
Common mistakes and how to avoid them
Why: Certain habits—overstretching, neglecting strength, chasing passive range—stall progress or cause setbacks. Awareness helps you course-correct before a flare-up.
How: Avoid maximal passive stretching without activation and support; instead, alternate gentle static holds with strength and control drills. Don’t compare sides—work bilaterally but prioritize the tighter side with thoughtful progression. Keep a practice journal to notice slow improvements rather than expecting immediate leaps.
When to rest, regress, or consult a professional
Why: Recovery is part of progress. Continuing through worsening pain or instability risks injury and undermines long-term gains. Professional input helps when symptoms suggest structural or neurological issues.
How: Rest for a few days if discomfort increases with activity; regress to gentler variants (supine figure-four instead of Full Pigeon). Seek a physical therapist if you have persistent sharp pain, numbness, or weakness, or if the hip feels unstable. If pregnant or recently postpartum, get tailored guidance before deeper hip-focused practice.
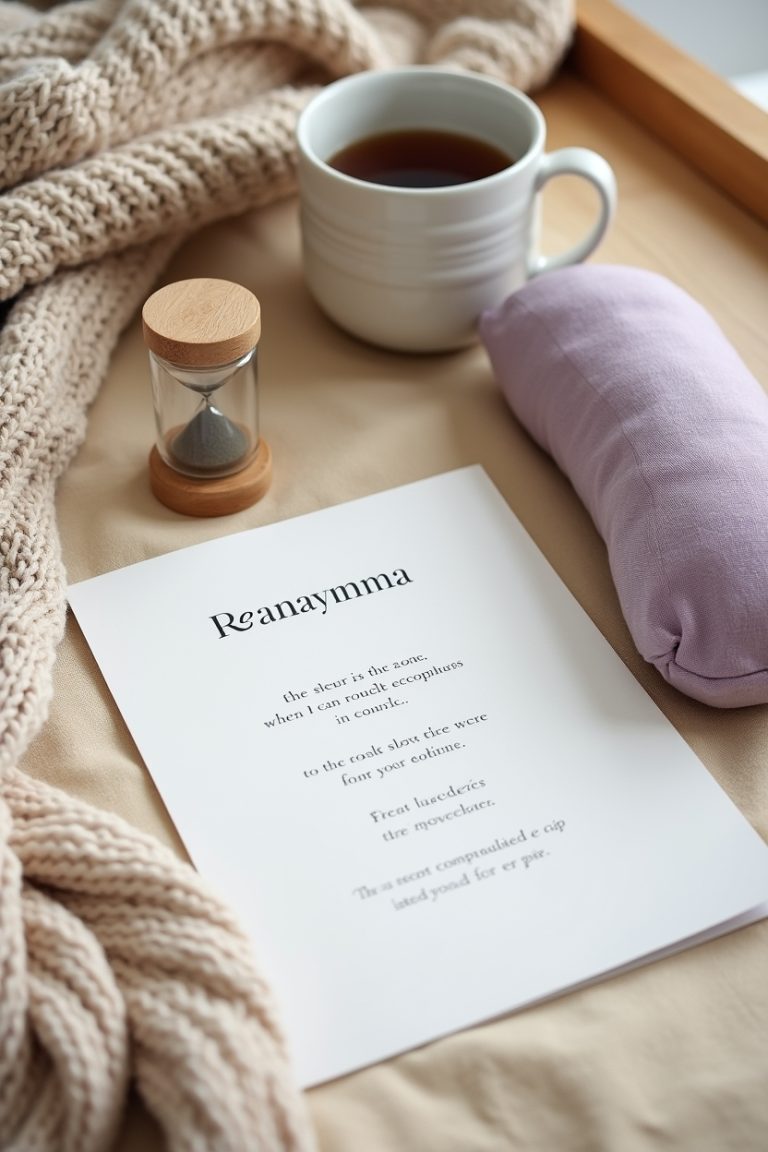
Download the 4-Week Hip-Flexibility Tracker
A printable one-page mini-sequence and tracker that pairs the warm-up, three key poses, and a short strength circuit—designed to use daily. Use it to note progress, holds, and sensations so your practice stays safe and steady.
Get the Tracker
Final Thoughts
Progress in hip flexibility is a practice of patience—small, consistent steps anchored in breath and alignment yield the most reliable results. Integrate strength with openers, listen to your body, and let curiosity replace force.
When you feel ready, use the worksheet to guide your next four weeks. Keep the focus on usable mobility—how your hips support movement and ease in daily life—and let steady practice be your ally.